Header image: ﻼF
I am really excited that I got a spot on this year’s Student Machine Shop (SMS) course: https://sms-course.phas.ubc.ca/ I applied for the last two years but there weren’t enough slots and priority is given to those in Physics & Astronomy. I’m going to use this page as a wee record of the adventure, undertaken as both personal and professional development.
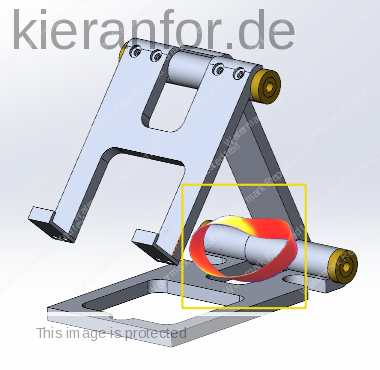
This ⬇ is the project for the course
- Some day, I want to do this:
CNC Milling a Mobius strip https://makezine.com/article/workshop/cnc-milling-a-mobius-strip/
For now, the project for this course is a cellphone holder- UBC Chemistry has a 5-axis CNC. The CAWP has an 8-axis robotic arm…
╬╬╬╬╬╬╬╬╬╬╬╬
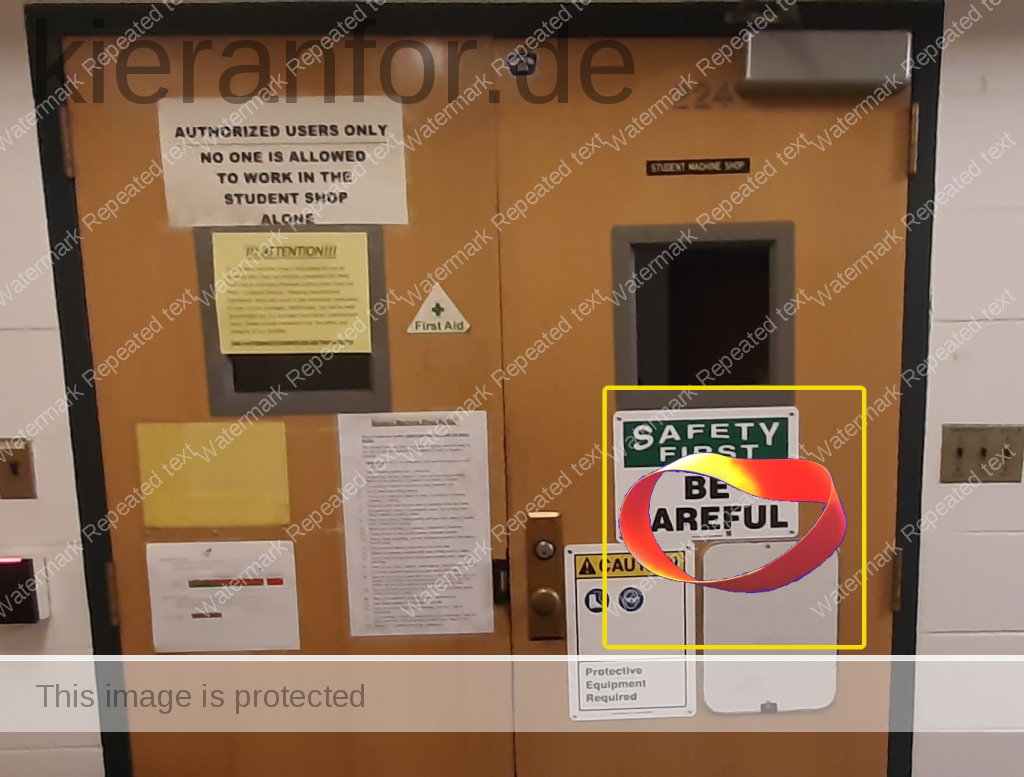
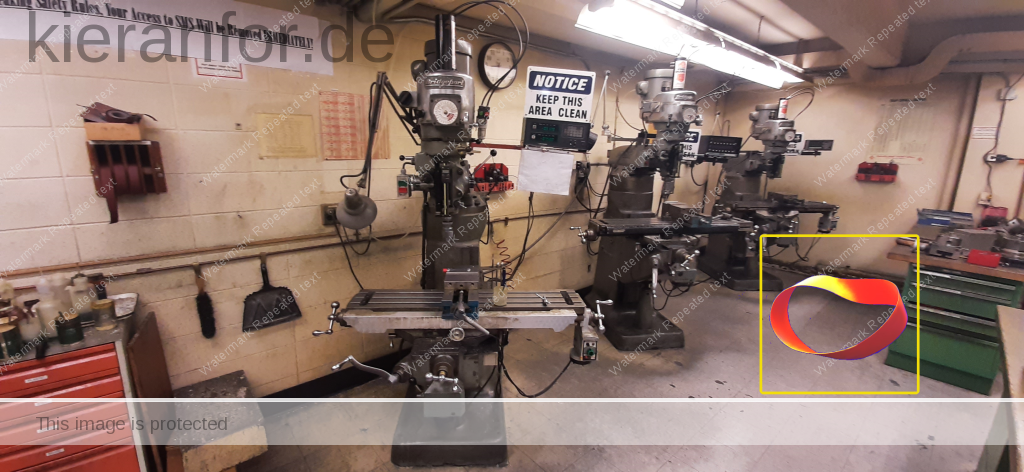
Module 1: Sept 28 – 08:00-11:45
Hennings 224: Department of Physics and Astronomy
So, Module 1 went well, though I burned my thumbs and sanded off a bit off my left index finger 🙁
I got lucky; it was just me and the instructor, Matthew Sluyter, so I had a great 1-1 class.
- We reviewed some basic safety rules and then he had me watch a pretty horrific WorkSafe BC video called “Lost Youth” where young folk who’d lost limbs and digits told their stories.
- I took a hacksaw to some aluminum and brass stock to cut the pieces for my project [this was the only time I felt like I knew what I was doing].
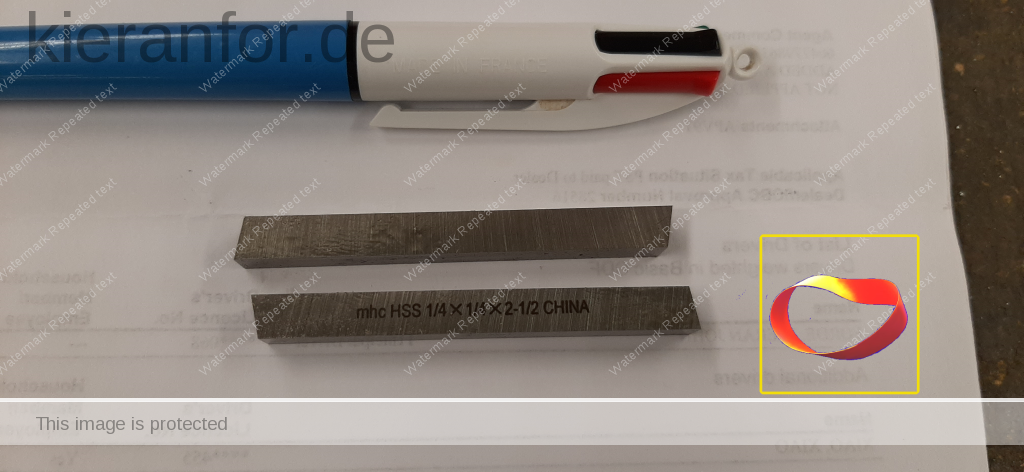
- Matt introduced me to the bench grinder and demonstrated how to grind the lathe tool bits I needed for my project. He then left me to my devices, and I fumbled ineptly as I tried to make my tool bit blanks look like the one he made. Two burned thumbs later, along with greater respect for the humble bench grinder, I had completed both of my tool bits [Matt had to help a few times]; one required an extra angle for a reason that will become apparent next class.
- I used a band saw to cut my aluminum stock into six pieces (according to the measurements on the board). Band saws are scary; I was afraid I’d sneeze and lose a finger – I am a full-body sneezer.
- After that, it was video time again, the thrilling Essential Machining Skills: Working with a Lathe, Part One. I am now confident that I can identify a lathe from a distance of ten paces or less but there was A LOT in the video. I will confess here that I believed that it was the tool that rotated on a lathe rather than the part; you live you learn.
Some notes/vocab:
- Always rotate the chuck before turning it on to avert potential catastrophe
- Knurling: a manufacturing process, typically conducted on a lathe, whereby a pattern of straight, angled or crossed lines is rolled into the material [for grip].
- Roughing pass – finishing pass – breaking the edge/turning down
- Hand feed / power feed
- Parting tool (looks like a tanto); cut-off tool;
- “cutting a piece of stock”
- Cutting fluid (lube)
- Squeak: perhaps tool getting close to binding in the grove and breaking [add lube]
- Drilling a hole: drill chuck [shuttle looking thing] – centre drill [weird looking bit; not very fluted]
We finished up with me asking Matt a bunch of questions which he patiently answered. He’s been in the SMS for 25+ years now; I look forward to hearing some more of his stories.
Next, I went across to the UBC Centre for Teaching Learning and Technology (the CTLT), around which much of the teaching and learning at UBC is centered, to collect my CIRTL Scholar certificate.
The journey from the secluded machine shop in the basement of Hennings to the CTLT in the beautiful IKB Learning Centre gave me pause to consider the chasm between the “mind your fingers” technology and the digital technologies that most people associate with the word today. This separation at UBC mirrors both the physical separation I’ve seen in schools, where the Shops are not attached to the school proper, and the difference in how trades/skills-based technology and digital technologies are valued and promoted. [Update: Now that I have finished the course, I feel it would be a great professional development piece for academics to take this course, especially if (like me) they are not particularly “handy”. Being in the uncomfortable role of the struggling student might offer a generative perspective for some instructors.]
I’m home now, feeling pretty humbled by the whole experience. I feel like I should have learned basic competencies with these (and other) tools long ago and that I would have greatly benefited from this. There was no opportunity for me to do this in school and since then I’ve been buried in books and digital technology, growing ever more removed from the skills that would have made me feel just a little more “useful”.
╬╬╬╬╬╬╬╬╬╬╬╬
Module 2: Oct 5 – 08:00-11:45
This morning was brilliant. I’m tired in an unfamiliar way; I rarely use my own hands in the Head-Heart-Hands model of my own learning.
I was the only one who booked that block so I had 1-1 instruction again so I was able to ask all the questions I wanted and ping around topics and connections as I am wont to do.
I checked in with Matt in the Student Machine shop and then Mark Reynolds brought me to another room where I got a lesson on how to use the (OMAX) waterjet [abrasive jet?] cutting machine. I also met Hu Xiao Feng; he also works in the machine shop and is from Changchun (of all places!)
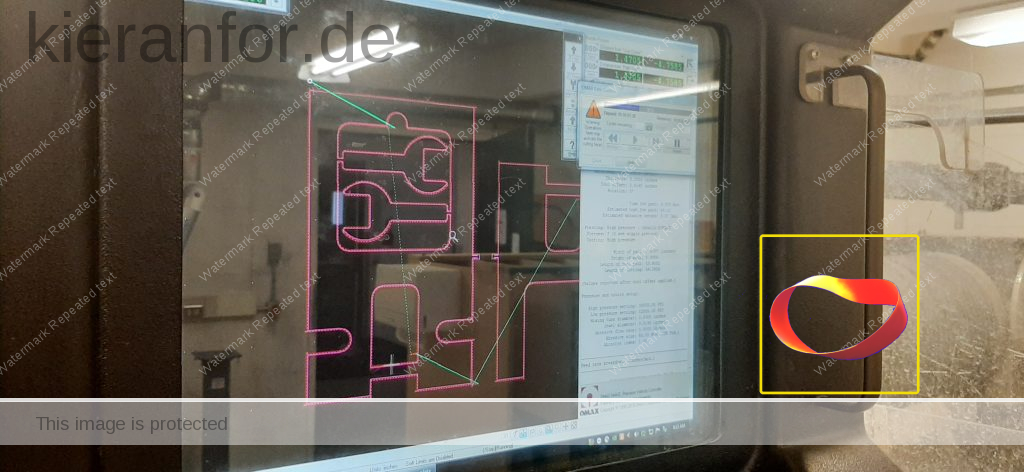
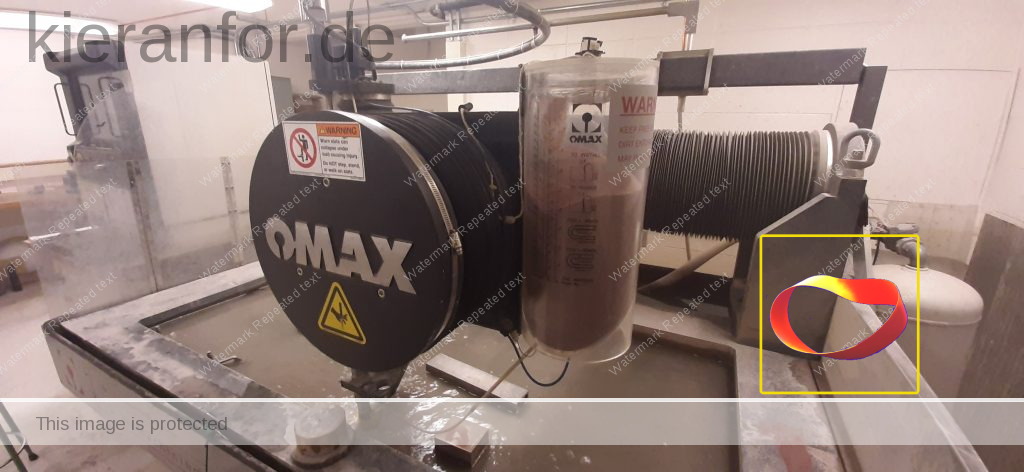
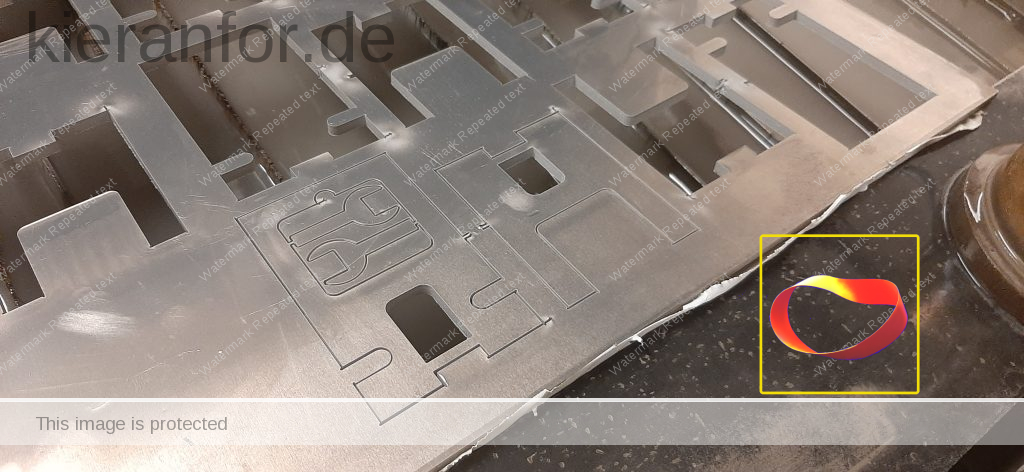
Mark walked me through the software (OMAX IntelliMAX) while introducing the machine. After that, he deleted the work he’d input and watched and assisted while I did what he had done. When it was all ready, I clicked on the button and the waterjet cut the aluminum sheet.
As this involved a computer, there were parts of this learning that I was quite comfortable with but the next task brought me back to…the lathe.
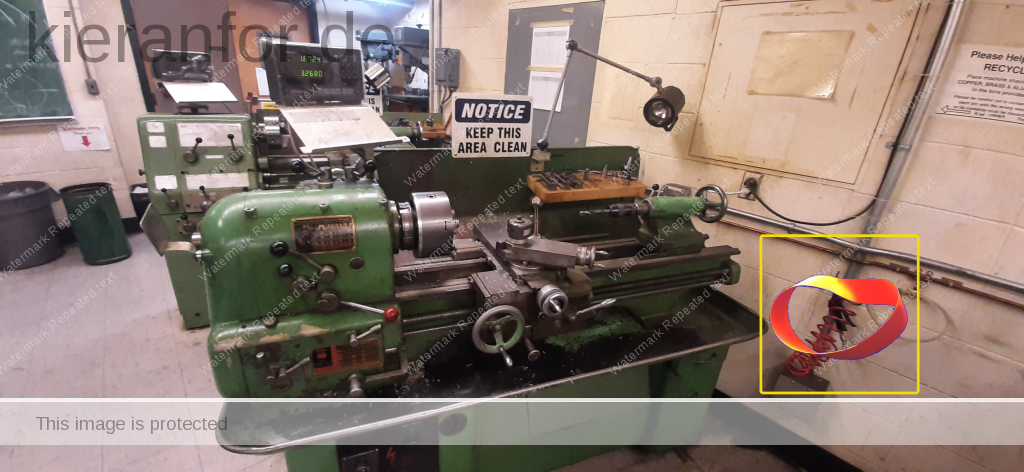
The Lathe: Part 1
Back in the Student Machine Shoppe, Matt reintroduced me to the lathe and showed me what I needed to do. He made it look easy, of course, and said it was like driving a car in that it just takes practice. I pointed out it might be better compared to flying a helicopter, as it involves a third axis, most people can’t do it, and the exposed rotating parts could really ruin your day.
I felt a great sense of satisfaction having cut and drilled my parts to the specifications. I didn’t understand some of the things I was doing last time but these pieces clicked into place this time, just when I needed them.
I then got stuck in and tried to do what Matt had done; I had to call on him a few times, but I eventually grew some confidence and the parts I did alone all came out just fine. This has been good teaching from the instructors and great learning for me. Next time, milling.
Some notes/vocab:

- .dxf [Drawing Exchange Format: a CAD data file format]/ .ord [OMAX Routed Data]
- tabs (think Revell models)
- lead in/out lines
- air; water; compressor; dryer; inverter; F
- z-axis: 7/1
- Quality: cut 5: 10 mins; cut 2; 5 mins
- pre-go: cup, abrasive, water level
- get worktag code
I’ll confess to recalling Vitas Gerulaitis’ brilliant line when I had to be shown how to do something relatively simple three times! But now I can say with pride, that nobody needs to show me how to do something relatively simple FOUR times!
╬╬╬╬╬╬╬╬╬╬╬╬
Module 3: Oct 26 – 08:00-11:45
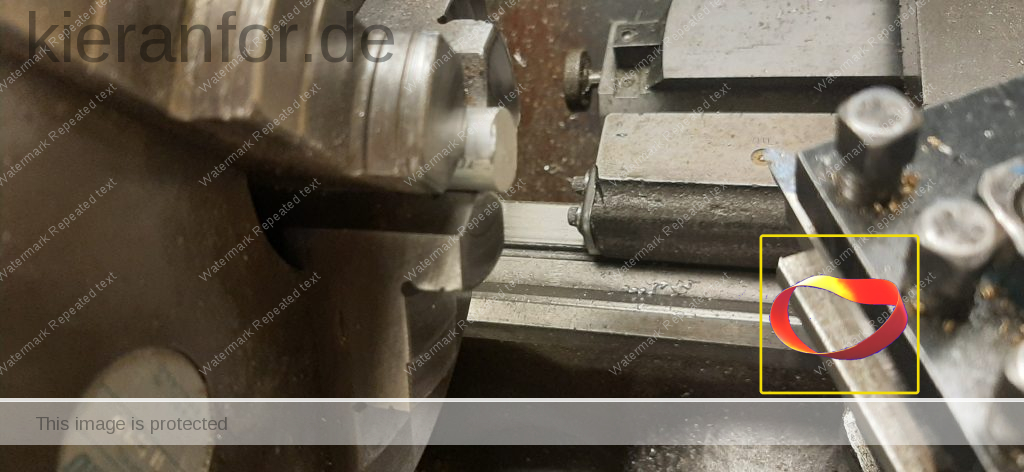
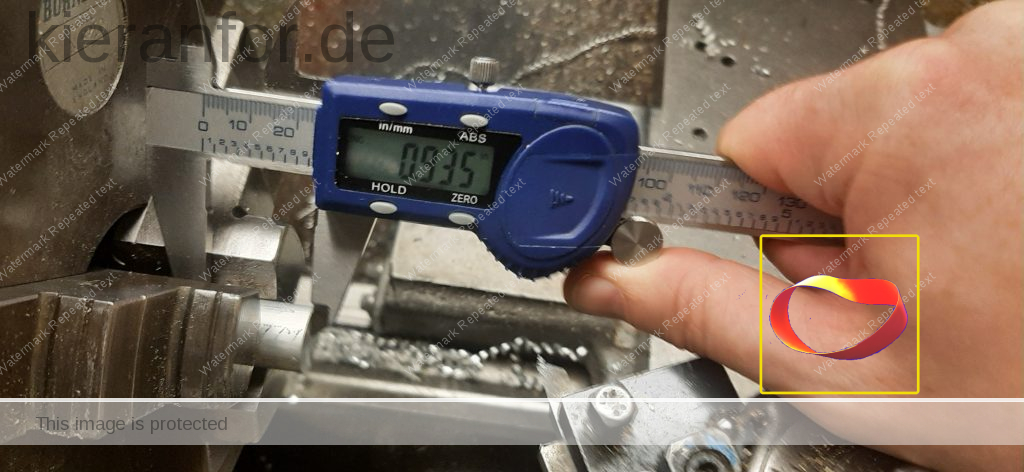
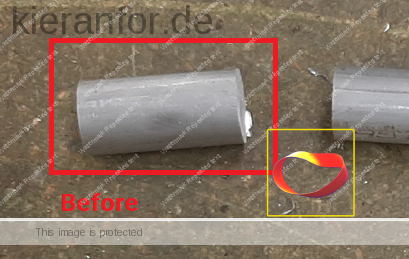
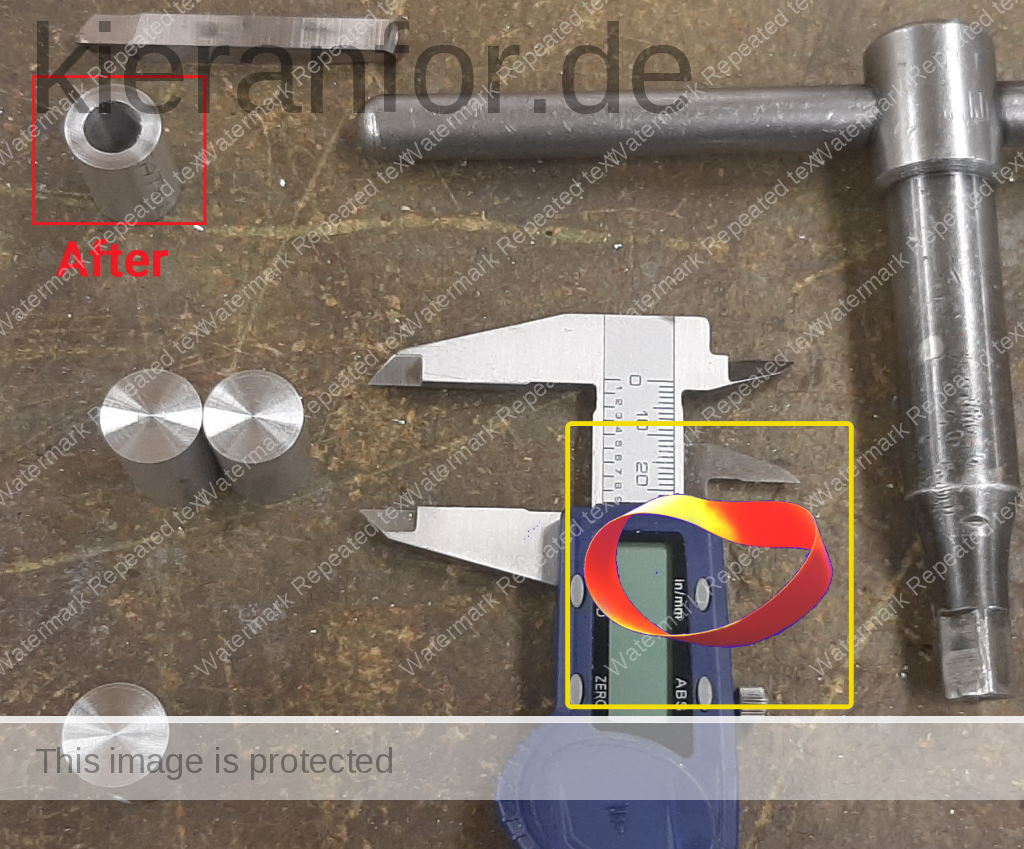
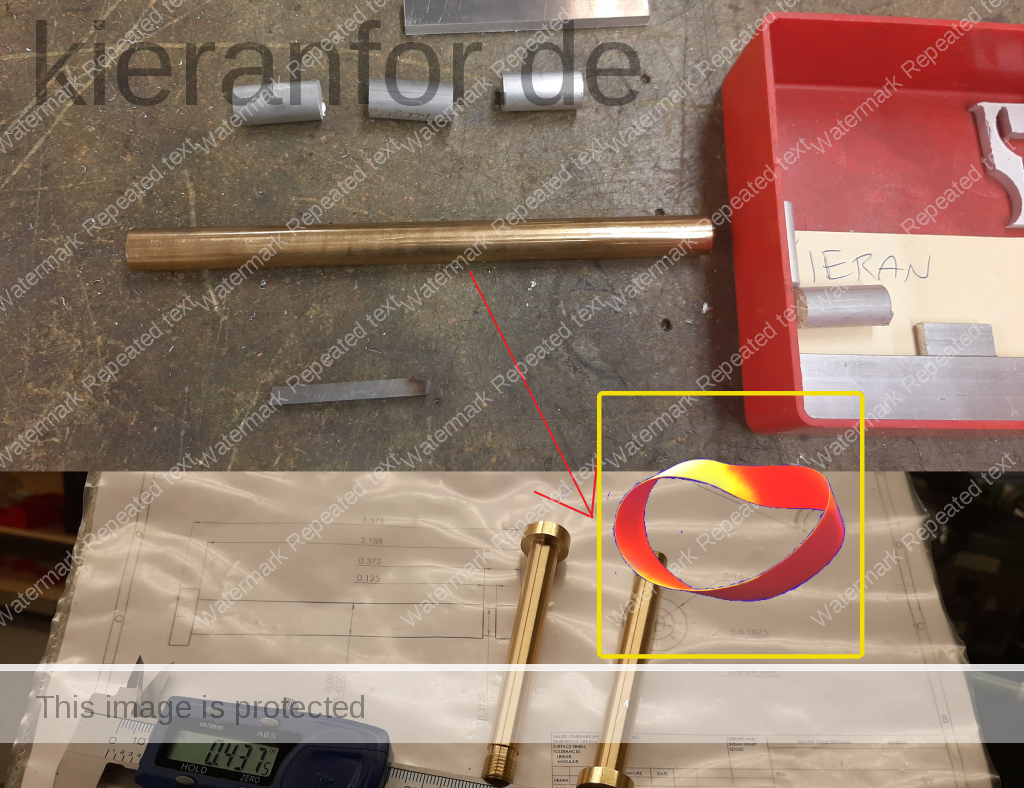
The Lathe: Part 2
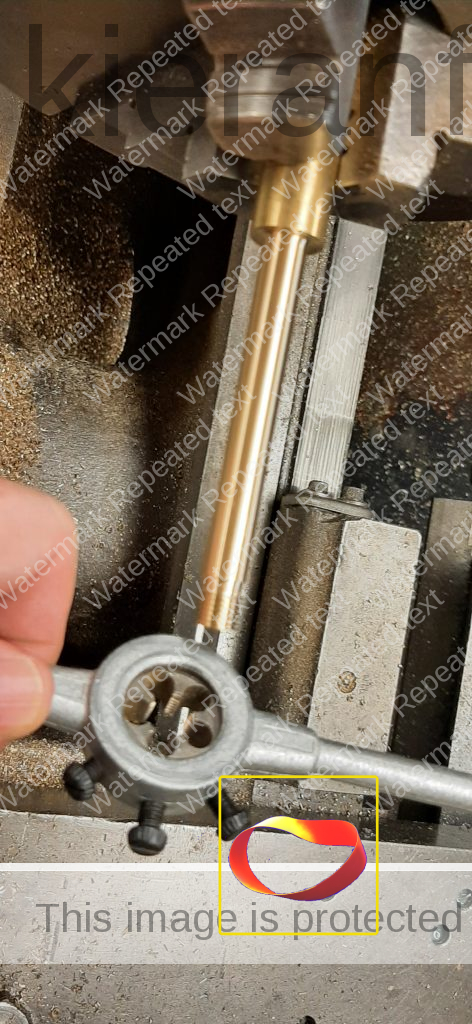
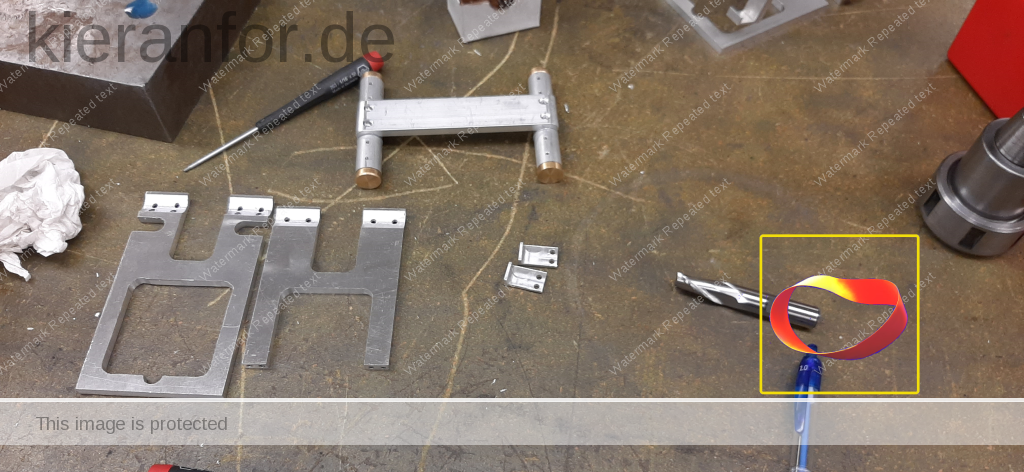
In another lesson in humility, I returned to the lathe for three hours this morning. Again, I’m tired in an unfamiliar way; partly because I’m not used to standing (and hunched over a bit) so much but also because of the tasks involved. Basically, the work of the morning was to turn my long copper rod into the two pins you can see below, by using tap and die tools. ⬇ The work of 10 minutes for someone competent and the work of three hours for a novice.
This entailed using a number of different tools on the lathe. Matt was on hand and I had to call on him a number of times to help +/ explain something. At one stage he had to actually make some drawings on the chalkboard to help me understand what was happening. I swear I feel I get suddenly stupid any time someone mentions an x- and y-axis; cue flashbacks of geometry and algebra class in The Bish and my inability to fathom the combination of letters and numbers: 3x + 2y = befuddlement.
Still, it was very satisfying to have the pieces come out in the right way. Next week, I’ll be working on the mill so there’ll be a x-, y-, and z-axis to contend with (and they are in a different orientation too!).
Module 4: Nov 2 – 08:00-11:45
I’m gonna be smarting from this one for a bit and won’t be writing this up for a while.
It brought me back to the time I spent working as a farmhand in Australia. I had no idea what I was doing most of the time and I felt stupid much of the time.

UPDATE: Nov 19 – It’s taken me ages to get back to this but be following module went really well and made up for this one leaving me feeling defeated.
╬╬╬╬╬╬╬╬╬╬╬╬
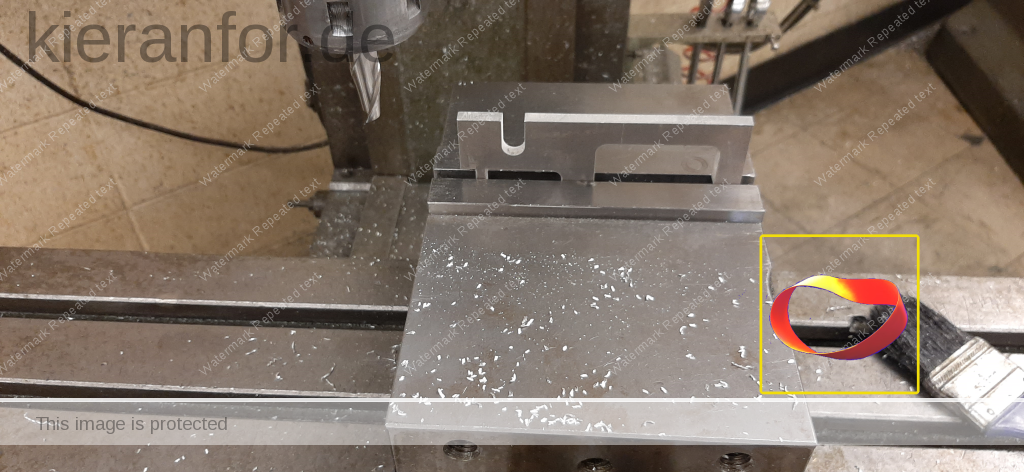
Module 5: Nov 16 – 08:00-11:45
There were 7 people in the shop this morning so the atmosphere was completely different. There was one other SMS student who was at my stage of the project, though he was more proficient in using the mill. The others were students (eng/physics perhaps) working on different projects; all of them seemed to know exactly what they were doing.
This module involved rounding off the corners of some parts and drilling in a bunch of places. I finally got the hang of how to use the handwheels properly (i.e. which direction to turn; it was not intuitive to me) to move the saddle and I used the power feed speed adjustor quite a bit
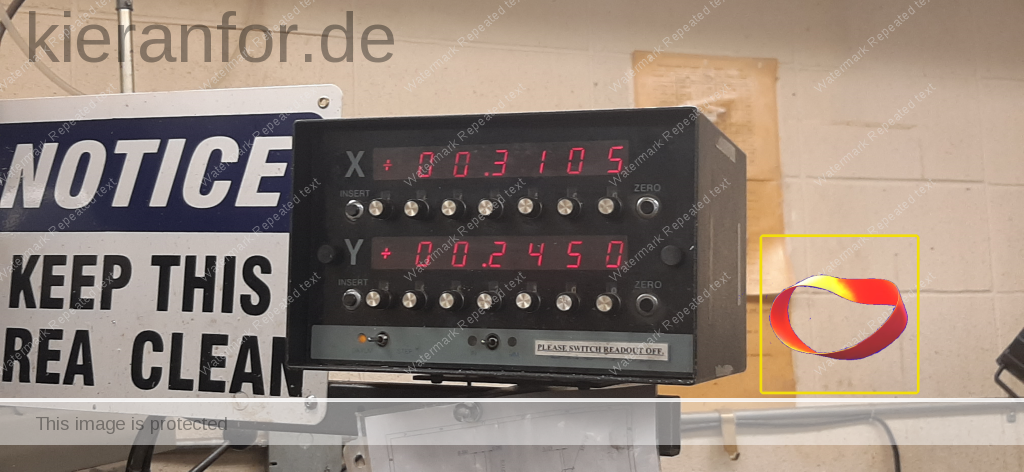
The relationship of the DRO to the axes also finally clicked; this is something quite obvious to most people, but it still took until now for me to internalize it.
With the above falling into place, things were much easier and my confidence grew over the hours. I still had to ask Matt to guide me through stuff several times but he was kind, as always, and worked with me until I understood. I also got slightly cocky when I was reading the drawings and, rather than check with him, drilled in the wrong place. He looked at it and came up with a workaround; my part looks like shit as a result, but it was a good lesson nonetheless.
I also had a lovely, encouraging, comment from one of my own students: see bottom of page. I love that I am experiencing a taste of what they learned in their 2-year Technology Teacher Education Program at the British Columbia Institute of Technology. Having a very basic understanding of a part of the “technological component” will help me a lot with the delivery of the “pedagogical component”. Hopefully, this understanding will grow to allow me to facilitate a greater overlap between these two pieces; I’m thinking like a half-lap joint (though it’d likely have to be significantly less of an overlap).
╬╬╬╬╬╬╬╬╬╬╬╬
SMS Project 1: Nov 30 – 08:00-11:45
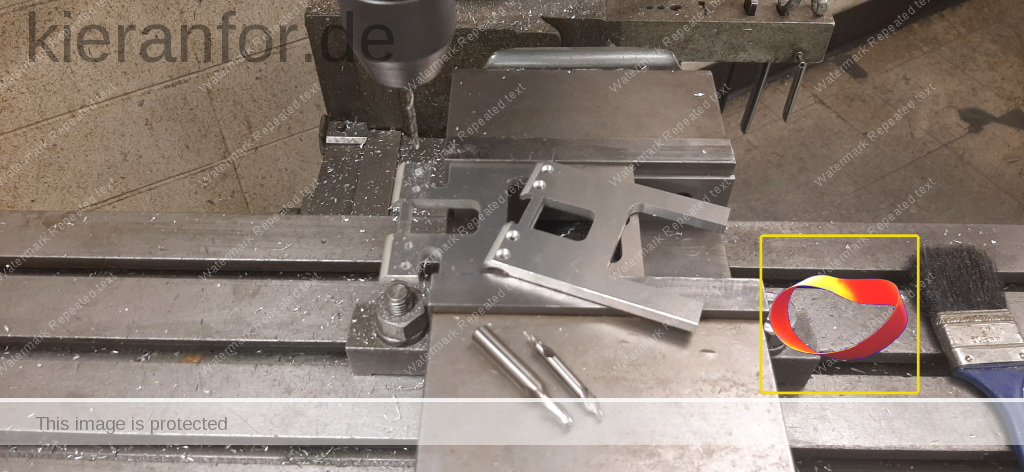
This was my final session as I had completed almost all of the work needed before assembling the finished product. The last few parts were tricky. First, I had to mill 0.180 inches (4.5 mm) off most of this little shim of aluminium (I’ve been here long enough that I’m saying aluminium instead of aluminium [did you think-read those with two different pronunciations?]). This was a challenge as there was not a lot of clearance between the end mill (the cutting tool) and the vice keeping the piece in place. It helped that I had finally internalized how the different axes are orientated and how the handwheels will move the part.

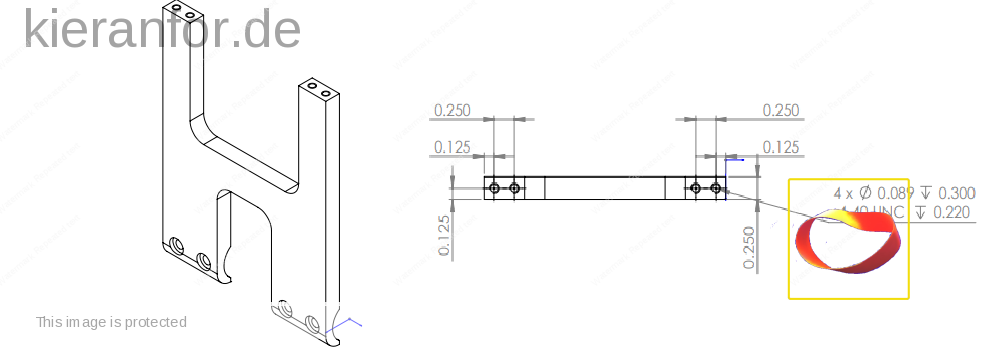
The final piece to work on was the somewhat delicate drilling and tapping of four holes in the narrow end of one of the parts cut by the waterjet. There was not a lot of margin for error but I managed to do this properly, using the three different tools involved; the sense of satisfaction was wonderful. As always, Matt was on hand, mainly listening from nearby for sounds that would alert him to me doing something wrong. As with many educators, his skills are used at least as much to diagnose issues and offer workarounds/solutions to “opportunities for growth” [i.e. fuckups] as for direct instruction. I jumped the gun several times during the course, requiring him to provide creative solutions to rectify the mistakes I had made. It took me a while to be comfortable using/trusting the DRO and understanding how to properly zero the axes while correcting for tool diameter. I felt I had finally learned this by this stage of the project; finally!
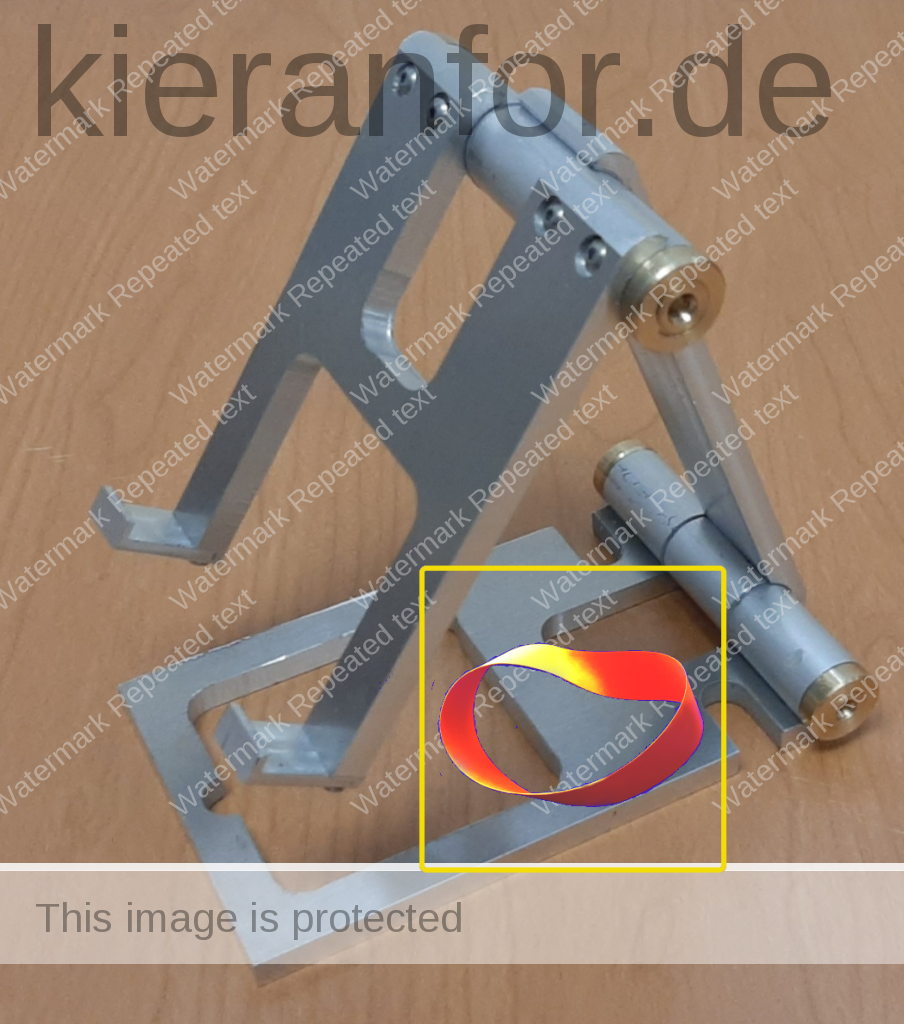
The last part involved assembling the phone stand. After he got me started, Matt and I had a great chat about life and learning while I did this. It was a really great feeling to see how all the parts connected; of course, I had a decent idea of this from seeing the drawings and an actual completed piece, but my phone stand is somewhat unique; the places where I encountered “opportunities for growth” are clearly visible.
In the end, with some gentle persuasion, the phone stand came together! This process was very valuable learning for me in many different ways. I’ll be sitting with relfections on this for quite a while.
╬╬╬╬╬╬╬╬╬╬╬╬
╬╬╬╬╬╬╬╬╬╬╬╬
“The Future Is Handmade” – a Craftsmanship documentary short film
(h/t Alex Caverly)
- 00:01 Working with one’s hands is still popularly seen to be low-level work, devoid of intellect. The acquisition of a skill is a cognitive achievement. Perfecting one’s craft, learning to problem solve, to make and repair, involves a great deal of intellect.
- 00:47 Craft is about an attitude towards one’s materials, towards the use of one’s tools, and to the journey of learning. I think that’s what defines a craftsperson; it’s about the neverending possibilities of learning about your trade.
- 02:24 Craft is seen as a way of making the craftsperson autonomous, giving them the power to oversee a project from beginning to end. It very much creates a sense of place in a world that is increasingly making a lot of us placeless.
- 02:47 Skill learning; the senses, sensory knowledge
- 04:23 Their sense of touch becomes redirected to the end of their tool blade
- 06:50 Ultimately, craftsmanship raises real questions about the structure of capitalism.
- 10:59 Young middle-class kids are funneled through education. If you’re going to make it, it means that you are going to go to university and have a degree. The whole vocational route is seen as a cop-out for those who didn’t quite make it in the classroom. As a society, we really must expand our understanding of what knowledge is. Knowledge is not merely book learning. Knowledge is being able to perform tasks beautifully with the body. This embodied knowledge needs to be re-evaluated by our society and given the status that it deserves. Making something beautiful is an expression of knowledge.
I’ll finish this with a beautiful tune by master craftsman, Mark Knopfler:
╬╬╬╬╬╬╬╬╬╬╬╬